Monday, September 15, 2014

Paper plate owl

This little guy came out way better than I expected.  I will be using this craft for a Fall craft day later this month.  

What you need:
  • Paper plates
  • Markers
  • Construction paper
  • Glue
  • Scissors


Color the center of the paper plate.  I made a simple squiggle pattern alternating with fall colors to make it look like feathers.  Fold the sides of the plate toward the center to make the wings.  Fold the top half of the plate down about an inch and a half.  Glue in place.  
While that has time to dry cut out two large circles and two small circles for the eyes.  I decided to use yellow and black for the eyes.  Cut out a small triangle and feet out of orange construction paper.  Set these aside and color the wings.  I decided to follow the stripes on the paper plate, you can make any design you like.  Glue the eyes, beak, and feet in place.  There you have it, a cute little owl.
Enjoy!

Friday, September 12, 2014

Sparkly Apple Magnet

Here is a quick and fun craft for kids.  I had all the supplies on hand!

What  you need:
  • Red foam: I used a die cut machine to cut mine into an apple shape
  • Green pipe cleaner
  • Green glitter
  • Gold glitter
  • Wiggly eyes
  • Magnetic strip
  • Glue
  • Scissors


Use liquid glue to add gold glitter to the stem of the apple and green glitter to the leaf.  Cut a pipe cleaner in half.  Fold one piece of the pipe cleaner in half to make the head of the worm.  Use the pipe cleaner to carefully poke a hole through the foam.  Slide the piper cleaner through the hole so there is enough hanging out of the back side of the apple to twist in place.  Try to keep the back twist as flat as possible.  Cut any extra pipe cleaner off.  Add a wiggly eye to the worm and a magnetic strip to the back.  That's it.

Enjoy!

Thursday, September 11, 2014

Apples and Pumpkins

These are two Pinterest inspired crafts that I will be using in programming this Fall.  Since we have the Apple Fest in out town I try to make an apple craft in the fall.  It was time to change it up this year.  I decided on this adorable apple core craft that I changed up just a bit and this paper pumpkin.  Both are pretty easy to assemble and make great decorations for the home--especially the pumpkin!


Apple Core: Inspired by this pin.
What you need:
  • Toilet paper tubes
  • White paint
  • Paint brushes
  • Black seeds ( I made mine on the computer)
  • Red construction paper Cut into about 5 inch squares
  • Green construction paper
  • Scissors
  • Glue (I used glue sticks and everything is holding up just fine)
I painted all the tubes white before hand so that the kids can get to work assembling their apples.  Have the kids cut a two squiggly circles out of two red squares to glue on the top and bottom of the white tube.  Next, have the kids cut a leaf shape out of green paper and glue to the top red piece.  Or you can make a stencil for them to trace.  Using glue, adhere four seeds to one side of the apple core.  Spin the the apple core to the other side and glue four more seeds to the core.  And that's it!  If you want to add a small worm to the top for fun go for it.  :-) 


Paper Pumpkin: Inspired by this pin. This pin has great step-by-step photos.
What you need:
  • Green pipe cleaner
  • Orange cardstock
  • Hole punch
  • Scissors or paper cutter
First thing you need to do is cut your orange cardstock into long strips.  I did not measure mine so they are not perfect.  For a larger pumpkin-like mine-cut the paper length wise.  For a smaller pumpkin cut the strips on the short side of the paper.  I used two whole sheets of paper for my pumpkin.  If you want this craft to be quicker for a program, cut the paper into strips ahead of time.  Next, use the hole punch on both ends of each strip.  Stack your strips one on top of the other.  String the green pipe cleaner through one end of the strips.  Bend a little of the pipe cleaner to keep the paper from falling off.  String the pipe cleaner through the top of the other end of the papers.  Pinch the pipe cleaner at the top to make a little stem to hold the paper in snug.  Curl the remaining pipe cleaner to look like a little piece of vine.  Now, fan the papers out to make a round pumpkin.  Stand back and admire your creation.


Enjoy!

Tuesday, September 9, 2014

New posts are coming!

Just a quick update.  I have a TON of new craft and storytime posts coming up.  I'm still recovering from the Summer Reading Program.  It was a great summer and I have so many ideas to share with you.  Check back soon for some  great projects.

Amy

Friday, June 6, 2014

Robot Themed Storytime

In preparation for Summer Reading I have been doing a robot themed storytime with my some of my school visits.

I read:
Boy + Bot by Ame Dyckman


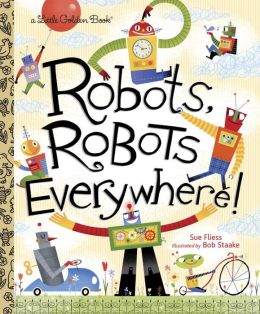
Robots Robots Everywhere by Sue Fliess


The craft: Paper Robot
What you need:
  • Cardstock cut into various sized rectangles
  • Paper straws cut in half for legs
  • Small strips of paper for arms
  • Foam stickers
  • Pipe cleaner for the head
  • Fizz Boom READ sign (optional)
  • Glue stick
I had the robot bodies made ahead by the wonderful Mikayla.  She glued the head, neck and body together. Each straw piece had two small slits on the sides and a drop of school glue to fit over the base of the body.  Pinch it closed for a couple of seconds and the legs will stick.  I had the kids decorate their robots with a variety of foam stickers.  Once they were satisfied with their robots they accordion folded the arms and attached them to the body. The spring or hair at the top of the robot is made using one pipe cleaner. You can wrap it around a pencil or the kids can wrap it around their finger to give it a coiled look.  I had two tiny holes punch at the top of each robot, so we simply poked each end of the pipe cleaner through the holes and folded the end up to keep it in place.  All the robots turned out awesome.
Enjoy!


Thursday, June 5, 2014

Ice Cream Themed Storytime

I got a little ambitious with my last Spring Evening Storytime session this year.  I wanted to have something really fun that the kids would remember and talk about for a long time.  So I decided to have an ice cream themed storytime and make ice cream.  It was crazy, loud, and a whole lot of fun!  I had a few parents stay in the room with us which proved to be extremely useful.  THANKS!
Because of the time factor in making the ice cream I only read one story.
Here's what we did:

We made an ice cream craft:


I used the template from here and added a cute little ice cream poem and a red pom pom as the cherry on top.  The kids had fun deciding what flavors they were going to color each scoop of ice cream. We used glue sticks to put everything together.  I had the kids start this craft as the came into storytime.

We read:
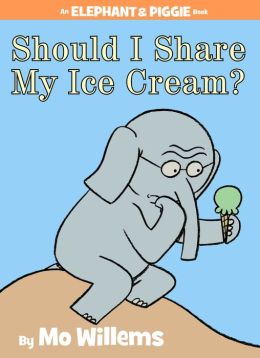
Should I Share My Ice Cream? by Mo Willems


The kids went wild when they saw we would be reading and Elephant and Piggie book!

Then we made our ice cream.
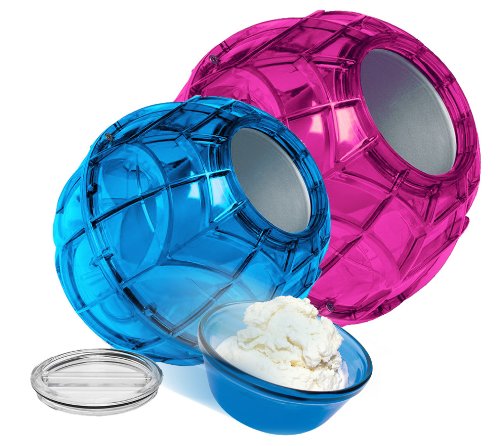
Here's what I used: YayLabs Play and Freeze Ice Cream Ball.  I had two pint sized ones for the kids to use.  We followed the instructions for the vanilla ice cream.  Each kid was able to add an ingredient and mix our ice cream mixture.  We all helped fill the ice cream makers with ice and then we played some games.


These little guys have to be rolled/shaken for 20 minutes with a break half way through to scrape the sides down.  I played the Freeze song by Greg and Steve.


I had the kids sit in two circles and each group was given one ice cream maker.  They rolled the ball between their circle until the music stopped.  Whoever had the ball in their hands when the music stop had to pick it up and give it a good shake until the music started again.  This was a lot of fun for them.  We played the song on repeat a few times.  When we grew tired of the song I had the kids pass the ball and give it five shakes and pass it to the next person.  They got creative and came up with their own games to keep the ball moving.  Then we had some delicious ice cream sundaes to end out storytime.

*This is an extremely messy activity, but well worth it.  Just plan on some extra time for clean up.
Enjoy! 

Wednesday, June 4, 2014

Five Enormous Dinosaurs Felt Board and Rhyme

Dinosaur storytimes are always a hit.  I jazzed mine up this past week with a felt board story and action rhyme.  I read two stories that required the kids to ROAR!! Those little ones can make terrifying dinosaur sounds.  :-)

For this storytime  I read:

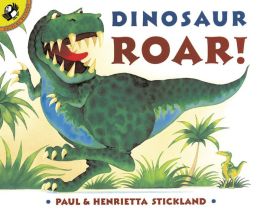
Dinosaur ROAR! by Paul & Henrietta Stickland


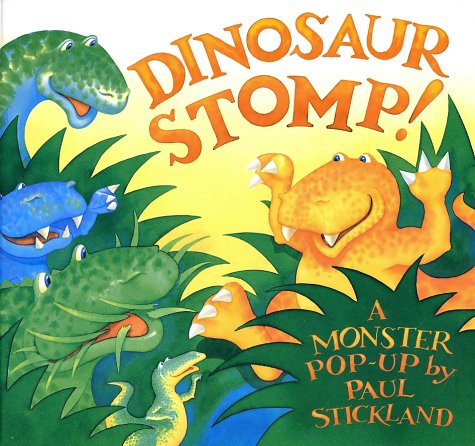
Dinosaur Stomp! by Paul Stickland


After the stories we used the felt board: Five Enormous Dinosaurs

I made a printout for the kids to color and take home.  You can print it out for your use here.
Enjoy!