Showing posts with label preschool. Show all posts

Monday, April 20, 2015

Creepy Carrot Craft

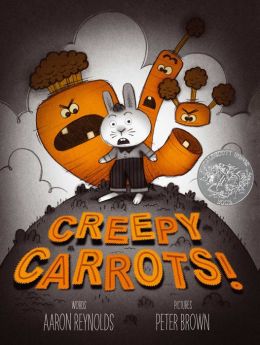
Phew!  Seems like I haven't had time to sit down and post some of my newest crafts in a long time.  I came up with this one last week for a Preschool-2nd grade storytime.  I am showing the movie Creepy Carrots! based on the book by Aaron Reynolds.
I will also be reading:
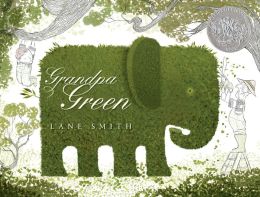
Grandpa Green by Lane Smith
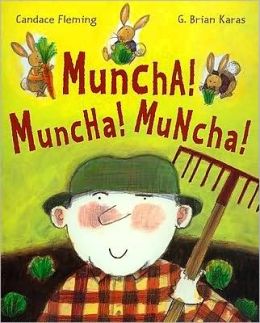
Muncha! Muncha! Muncha! by Candice Fleming


Here is the craft I came up with:
What you will need:
  • Orange foam
  • Green yarn
  • Tapestry needle (or glue the yarn on)
  • Brown construction paper
  • Gray strips of construction paper
  • Kidney beans
  • Googly eyes
  • Markers

Cut carrot shapes out of the foam.  Mine are about 3-4" long.  I used green yarn and a tapestry needle to make the greens of the carrot.  It took a little time, but I really like how it looks, and I am doing this craft with a small group of kids.  
I cut sheets of brown construction paper in half and then folding each piece in half (hamburger fold) leaving about 1/4" tab on the back half.  This is how the carrots will be slipped into the dirt.  Glue the sides leaving the top open.  I added a gray trim to make it look like a garden.  The kids will glue kidney beans around the gray edges to make stones.  
Have the kids add some eyes and squiggly mouths to make their carrots creepy.
Enjoy!

Tuesday, January 13, 2015

Puzzle Piece Snowflake

Here is the craft I made last night with my evening storytime kids.  They LOVED it.  Especially when I mentioned we would be adding some glitter to our projects.  Glitter just makes everything better.

What you need:
  • Cardstock
  • Snowflake template (I found one online)
  • Blue and white puzzle pieces (or you can have the kids paint them)
  • Liquid glue
  • Glitter
  • Hole punch
  • Fishing line


I cut out all the snowflakes ahead of time and double layered the cardstock to make it sturdy.  If I had thicker cardstock on hand, I would have just used that instead.   Punch a hole in the snowflake and tie some fishing line onto it.  To keep things a little on the cleaner side, I put swirls of glue on the snowflake for the kids to cover with puzzle pieces and added the swirls of glue on top of the puzzle pieces for the glitter.  This kept the mess to a minimum.
The kids had a blast making this craft and were very exited to learn that they did not have to put all the puzzle pieces together!
Enjoy!

Monday, September 15, 2014

Paper plate owl

This little guy came out way better than I expected.  I will be using this craft for a Fall craft day later this month.  

What you need:
  • Paper plates
  • Markers
  • Construction paper
  • Glue
  • Scissors


Color the center of the paper plate.  I made a simple squiggle pattern alternating with fall colors to make it look like feathers.  Fold the sides of the plate toward the center to make the wings.  Fold the top half of the plate down about an inch and a half.  Glue in place.  
While that has time to dry cut out two large circles and two small circles for the eyes.  I decided to use yellow and black for the eyes.  Cut out a small triangle and feet out of orange construction paper.  Set these aside and color the wings.  I decided to follow the stripes on the paper plate, you can make any design you like.  Glue the eyes, beak, and feet in place.  There you have it, a cute little owl.
Enjoy!

Friday, September 12, 2014

Sparkly Apple Magnet

Here is a quick and fun craft for kids.  I had all the supplies on hand!

What  you need:
  • Red foam: I used a die cut machine to cut mine into an apple shape
  • Green pipe cleaner
  • Green glitter
  • Gold glitter
  • Wiggly eyes
  • Magnetic strip
  • Glue
  • Scissors


Use liquid glue to add gold glitter to the stem of the apple and green glitter to the leaf.  Cut a pipe cleaner in half.  Fold one piece of the pipe cleaner in half to make the head of the worm.  Use the pipe cleaner to carefully poke a hole through the foam.  Slide the piper cleaner through the hole so there is enough hanging out of the back side of the apple to twist in place.  Try to keep the back twist as flat as possible.  Cut any extra pipe cleaner off.  Add a wiggly eye to the worm and a magnetic strip to the back.  That's it.

Enjoy!

Thursday, September 11, 2014

Apples and Pumpkins

These are two Pinterest inspired crafts that I will be using in programming this Fall.  Since we have the Apple Fest in out town I try to make an apple craft in the fall.  It was time to change it up this year.  I decided on this adorable apple core craft that I changed up just a bit and this paper pumpkin.  Both are pretty easy to assemble and make great decorations for the home--especially the pumpkin!


Apple Core: Inspired by this pin.
What you need:
  • Toilet paper tubes
  • White paint
  • Paint brushes
  • Black seeds ( I made mine on the computer)
  • Red construction paper Cut into about 5 inch squares
  • Green construction paper
  • Scissors
  • Glue (I used glue sticks and everything is holding up just fine)
I painted all the tubes white before hand so that the kids can get to work assembling their apples.  Have the kids cut a two squiggly circles out of two red squares to glue on the top and bottom of the white tube.  Next, have the kids cut a leaf shape out of green paper and glue to the top red piece.  Or you can make a stencil for them to trace.  Using glue, adhere four seeds to one side of the apple core.  Spin the the apple core to the other side and glue four more seeds to the core.  And that's it!  If you want to add a small worm to the top for fun go for it.  :-) 


Paper Pumpkin: Inspired by this pin. This pin has great step-by-step photos.
What you need:
  • Green pipe cleaner
  • Orange cardstock
  • Hole punch
  • Scissors or paper cutter
First thing you need to do is cut your orange cardstock into long strips.  I did not measure mine so they are not perfect.  For a larger pumpkin-like mine-cut the paper length wise.  For a smaller pumpkin cut the strips on the short side of the paper.  I used two whole sheets of paper for my pumpkin.  If you want this craft to be quicker for a program, cut the paper into strips ahead of time.  Next, use the hole punch on both ends of each strip.  Stack your strips one on top of the other.  String the green pipe cleaner through one end of the strips.  Bend a little of the pipe cleaner to keep the paper from falling off.  String the pipe cleaner through the top of the other end of the papers.  Pinch the pipe cleaner at the top to make a little stem to hold the paper in snug.  Curl the remaining pipe cleaner to look like a little piece of vine.  Now, fan the papers out to make a round pumpkin.  Stand back and admire your creation.


Enjoy!

Friday, June 6, 2014

Robot Themed Storytime

In preparation for Summer Reading I have been doing a robot themed storytime with my some of my school visits.

I read:
Boy + Bot by Ame Dyckman


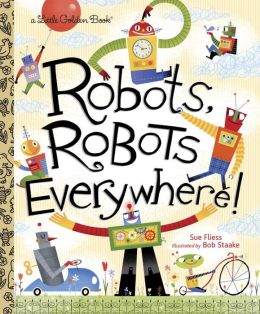
Robots Robots Everywhere by Sue Fliess


The craft: Paper Robot
What you need:
  • Cardstock cut into various sized rectangles
  • Paper straws cut in half for legs
  • Small strips of paper for arms
  • Foam stickers
  • Pipe cleaner for the head
  • Fizz Boom READ sign (optional)
  • Glue stick
I had the robot bodies made ahead by the wonderful Mikayla.  She glued the head, neck and body together. Each straw piece had two small slits on the sides and a drop of school glue to fit over the base of the body.  Pinch it closed for a couple of seconds and the legs will stick.  I had the kids decorate their robots with a variety of foam stickers.  Once they were satisfied with their robots they accordion folded the arms and attached them to the body. The spring or hair at the top of the robot is made using one pipe cleaner. You can wrap it around a pencil or the kids can wrap it around their finger to give it a coiled look.  I had two tiny holes punch at the top of each robot, so we simply poked each end of the pipe cleaner through the holes and folded the end up to keep it in place.  All the robots turned out awesome.
Enjoy!


Wednesday, June 4, 2014

Five Enormous Dinosaurs Felt Board and Rhyme

Dinosaur storytimes are always a hit.  I jazzed mine up this past week with a felt board story and action rhyme.  I read two stories that required the kids to ROAR!! Those little ones can make terrifying dinosaur sounds.  :-)

For this storytime  I read:

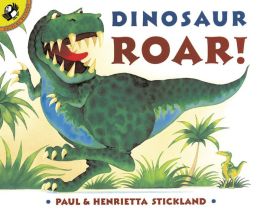
Dinosaur ROAR! by Paul & Henrietta Stickland


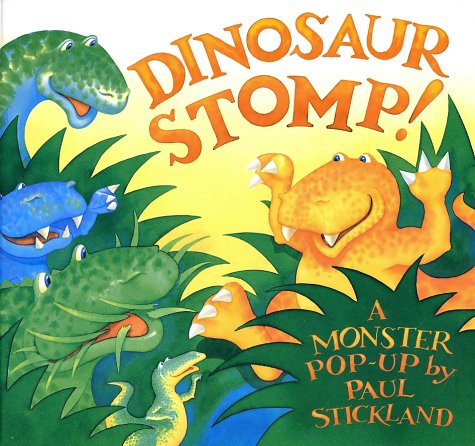
Dinosaur Stomp! by Paul Stickland


After the stories we used the felt board: Five Enormous Dinosaurs

I made a printout for the kids to color and take home.  You can print it out for your use here.
Enjoy!

Tuesday, May 13, 2014

Beach Storytime and Felt Board

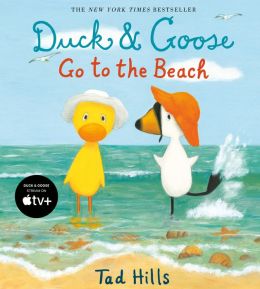
For my evening Storytime this week I decided to do a beach theme.  The kids loved it.  I pulled out my coconut and pineapple bowling set for the beginning play time and the kids couldn't get enough of it!  I had a hard time narrowing my book selection for this one but I got it down to three books and a poem.  

The books:


I found the poem Five Little Seashells  and made a printout for the kids to color and take home.  You can print your own copy here.

I turned it into a felt board as well.  Below is my quick attempt at an ocean wave.  
I found pictures of shells on the internet to trace onto felt.  
For our craft we made a seashell wreath.  I cut out paper plates and tied a ribbon to the top.  The kids used glue sticks to add squares of tissue paper to the plates.  I had the kids pick out 6 small seashells and used glue dots to attach them to their wreaths.  The glue dots were perfect for this craft.  I didn't want to pull out the hot glue gun for this project and school glue takes to long to dry.  If you don't have glue dots go get them.  They are wonderful for crafting!
Here is my sample wreath.
Enjoy!

Tuesday, March 25, 2014

Umbrella/Rain Felt Board

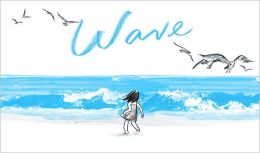
I decided to do a rain Storytime this spring and came across some adorable felt board stories in my search. I will be using 10 Little Raindrops by Storytime Katie and 5 Umbrellas by Christine at Felt Board Ideas.  There are so many cute flannel board ideas for rain!

Here are my pieces.  I couldn't resist adding a little glitter to the raindrops.  I think I might have a problem with glitter.  I want to put it on EVERYTHING.


I also made a sheet for kids to color and take home.  You can print it out and use it.

I plan to read some of these books.  I haven't quite decided which ones yet.  They're all good!
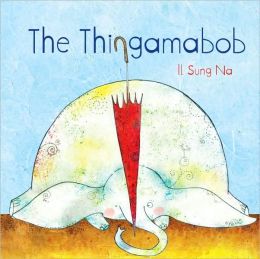
The Thingamabob by Il Sung Na

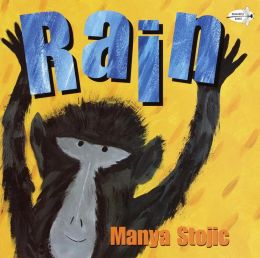
 Rain by Manya Stojic

This Is the Rain by Lola M. Shaefer

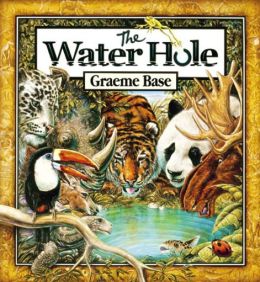
 The Water Hole by Graeme Base


Friday, March 7, 2014

Confetti Bird Story and Craft

I'm working on my Spring Evening Storytimes and came across the Confetti books.  I will be using Roly-Poly Egg  Snack Time for Confetti by Kali Stileman. 

What you will need:
  • Blue yarn
  • Blue pipe cleaners
  • Brightly colored paper
  • Scissors
  • Hole punches in different sizes
  • Wiggly eyes
  • Liquid glue

I found a fun and easy way to make Confetti out of yarn and a pipe cleaner. One of my oh-so willing Pages made large pompoms out of blue yarn.  My first attempt I used a large store bought pompom, but it didn't look fluffy enough.  I folded a blue pipe cleaner in half and then fold the ends to create feet and glued it to the bottom of the pompom.  Using two different sized hole punches I punched circles out of  brightly colored scrap paper.  I made the beak by cutting a diamond shape out of orange card stock and folding it in half.  Then I glued the eyes (I used two different sizes), paper dots, and beak to the pompom to create Confetti!  Isn't he cute?  The kids will have fun making this little bird and the stories are adorable.


Here's a closer look at Confetti:
Enjoy!

Friday, February 21, 2014

Lorax Craft

Saturday March 1st the library will be celebrating Dr. Seuss with Lorax Day.  I do a Lorax themed craft and we watch the movie.  It's a simple program that's lots of fun. Here is the craft I will be doing this year.
Lorax planter with a Truffula tree
What you will need:
  • Small planter pots-I used ones that are about 2.5" x 3"
  • Googly eyes
  • Yarn
  • Orange pompoms
  • Large pompoms in various colors
  • Small wood dowels cut into 8" lengths
  • White paint-to paint the dowel
  • Black marker to add the squiggly lines to the trunk
  • Dry floral foam cut into 1.5" blocks
  • Liquid glue or glue dots
Here's what I did:
    First, make the mustache.  I used a scrap of card board about 4" wide and wrapped the yarn around it 10 times.  Then cut the ends and tied one strand around the middle section.  

Glue the eyes, nose and mustache to the planter pot.

Next add the Truffula tree.  Place the floral foam in the bottom of the pot with a little bit of glue on the bottom to help keep it in place.  While that is drying take a black marker and add squiggled lines around the dowel.  Take a large pompom and use glue to attach it to the top of a dowel.  Once the pompom is attached to the top of the dowel stick the newly made Truffula tree into the floral foam as centered and as straight as you can. And that's it.
Enjoy!

Friday, January 31, 2014

Mouse Mess Craft

I'm doing a mouse themed Storytime next week and one of the books I will be reading is Mouse Mess by Linnea Riley

I decided to have the kids make a craft based off of this book.

What you need:
  • Small paper plates
  • Mouse picture ( I made mine ahead of time at home with a Cricut machine)
  • Small pictures of food for the kids to color
  • Crayons
  • Glue sticks
  • Pop-up glue dots


Have the kids color all the food pieces and then glue them at random onto the paper plate.

Put two pop-up glue dots on the back of the mouse.  I put one behind the head and one behind the belly.  Have the kids place their mouse on the plate.  And you're done. Mouse mess!
Enjoy!

Wednesday, January 22, 2014

Puzzle Heart Valentine's Day Craft

Here's a fun craft I will be doing with my evening Storytime kid's in a couple weeks.  It's great for Valentine's Day and it uses some old puzzle pieces I saved years ago.  

With a little prep work this craft can be done in a short amount of time.
What you will need:
  • Popsicle sticks (12 each)
  • Puzzle pieces
  • Cardstock cut into hearts (about 3" big)
  • Ribbon
  • Paint
  • Hot glue gun
  • School glue
  • Ribbon
  • Permanent marker
I made the popsicle frame ahead of time using hot glue.  This is also a good time to add a piece of ribbon to the back of the frame for hanging.  

Hint:  Glue the puzzle pieces onto the heart and paint them before gluing to the frame.  My first attempt above was glued to the frame before I painted it.  It was a disaster.  
Use school glue to attach the puzzle pieces on the heart and then paint them.  Once the painted heart is dry (I will be reading a story during this time) use the glue to attach it to the front of the frame.  With a permanent marker write: "Love You To Pieces".  I'm going to let the kids write it out on their own-it will look so much better than mine!
Enjoy!

Friday, December 27, 2013

Hanging Moose Craft

I decided to do a moose themed Storytime this winter and wanted a cute moose craft to go with it.  You can print out what I made here.  I found the moose head picture here.  

What you need: 
  • Card stock
  • Crayons
  • Hole punch
  • Yarn
  • Beads (with large enough holes to fit the yarn through)

Print out and cut the moose pieces.  Have children color in their moose.  
Punch a whole in the top of each piece.
Cut a piece of yarn.  It does not need to be too long.  Each moose will need two beads.  I did not use the beads shown in the picture above.  They were too long and made the moose appear floppy.  Instead, I used round ones that were about half that length.  String the legs of the moose, bead, body, bead, and then the head.  Tie the yarn together and now you have this cute little moose.
Moose books to share:
Moose Tracks! by Karma Wilson
 If You Give a Moose a Muffin  by Laura Numeroff
This Moose Belongs To Me by Oliver Jeffers
 Duck Duck Moose  by Dave Horowitz
 The Invisible Moose by Dennis Haseley
 Z Is For Moose  by Kelly L. Bingham
Making the Moose Out Of Life by Nicholas Oldland
Moosestache by Margie Palatini
Moose On the Loose by Kathy-Jo Wargin
Enjoy!